> ## Documentation Index
> Fetch the complete documentation index at: https://docs.kodeflowstudios.com/llms.txt
> Use this file to discover all available pages before exploring further.
# Adding Choices
## Setting up the UI
Continuing off of the UI from the last example, you can now make a button and save it as a prefab and delete it from the scene, we'll instantiate this later to use it for making the choices!
## Writing the Dialogue
Create a folder at `Resources/English/Choice/`
Right click inside the folder to create a ParleyGraph from `Create/Parley/Graph` and name it `en.Example`.
After double clicking the graph to open it, you will be greeted with the the graph view where you'll be doing the visual design of your dialogues.
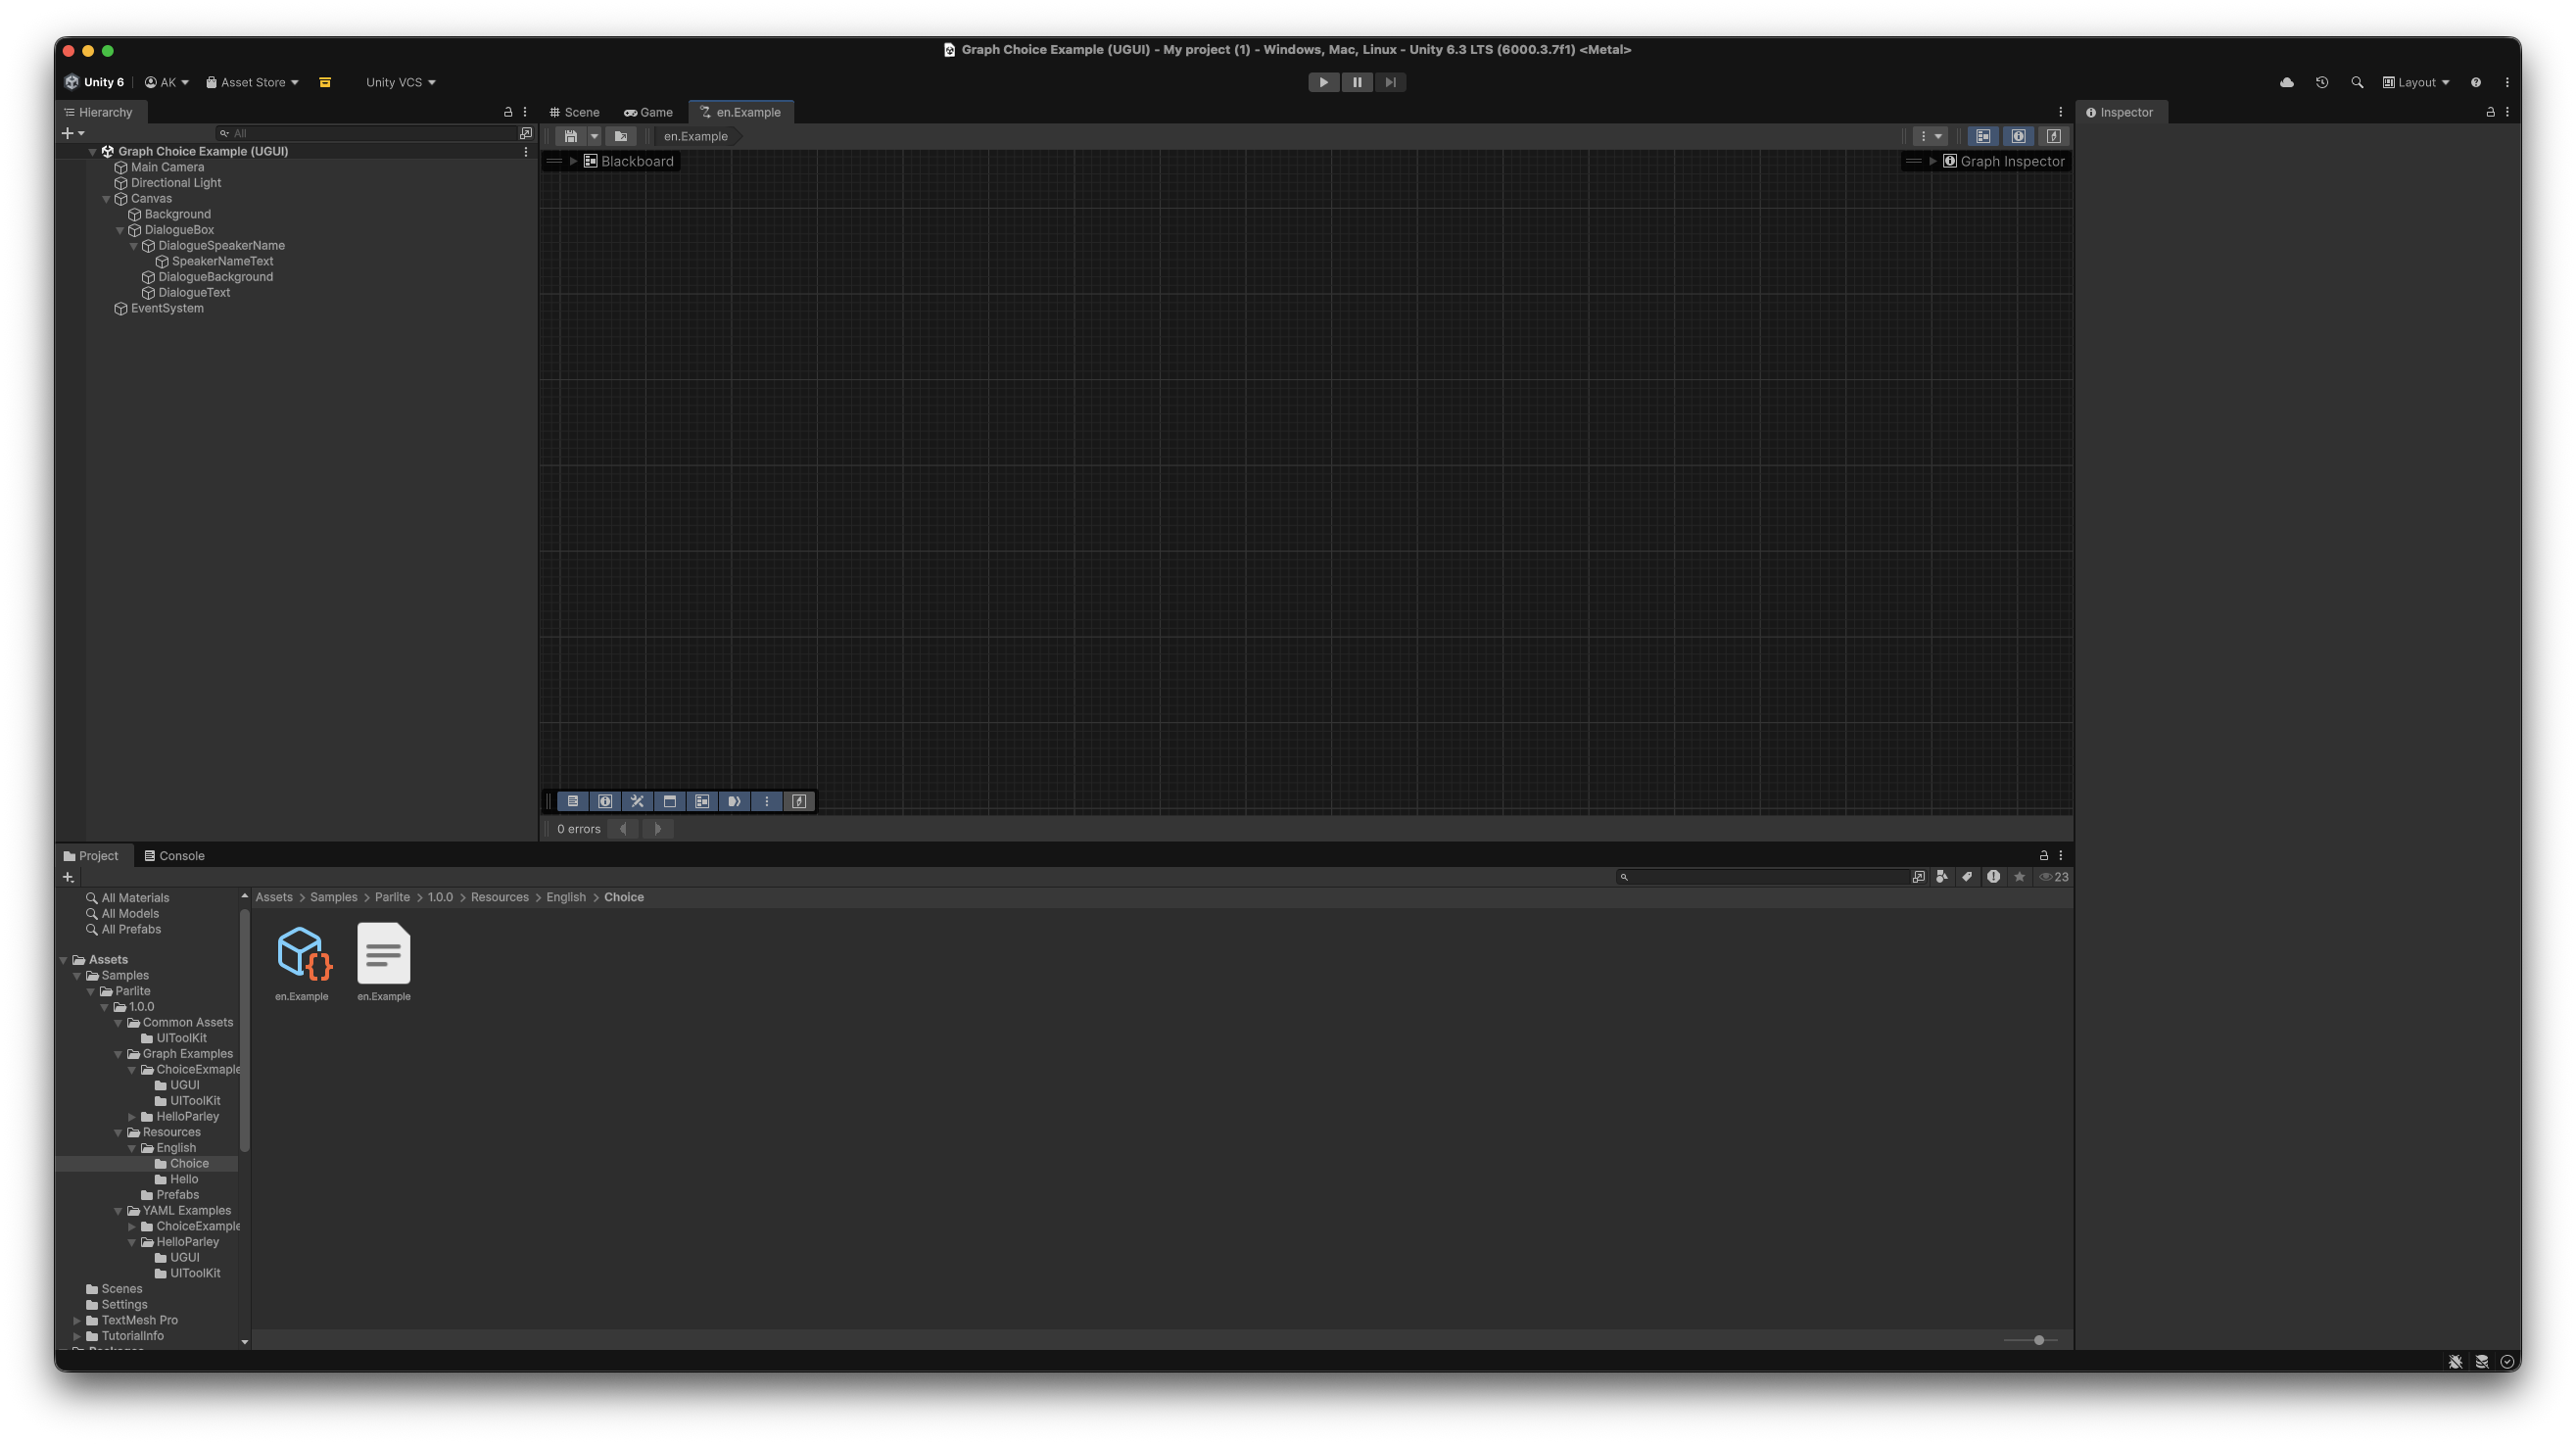
From the Context Menu, create a `StartNode`.
Drag from the `out` port on the `StartNode` and select `DialogueNode`.
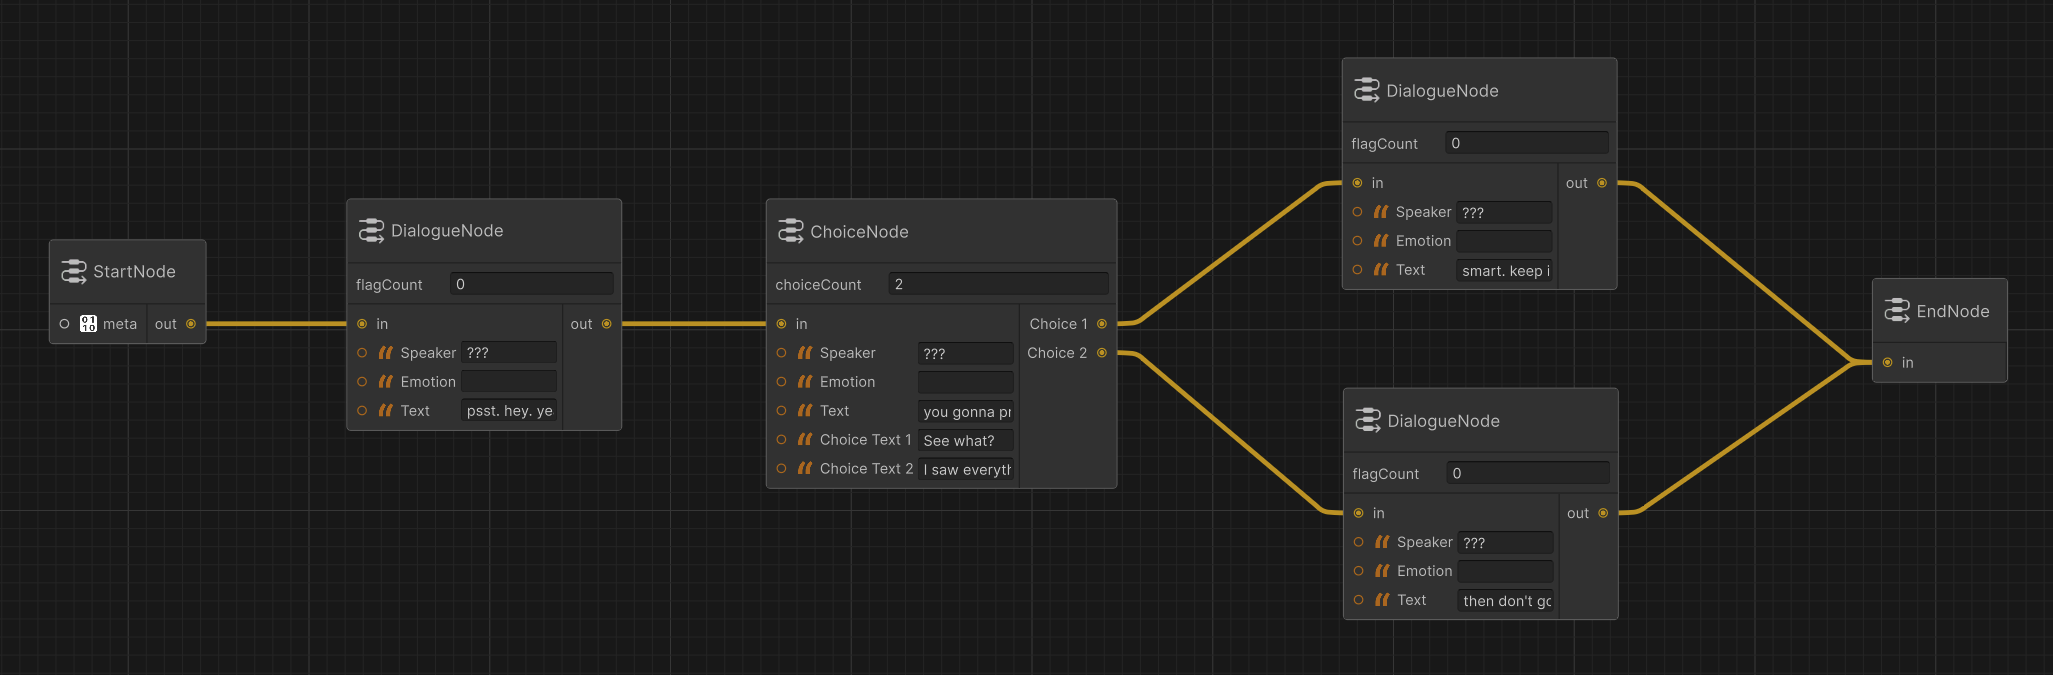
Create a few dialogue nodes and fill their `Speaker` and `Text` fields with whatever you want, you can use the example below as reference or copy the same structure and text.
```YAML icon=code theme={null}
Dialogue:
node_1:
Speaker: "Omar"
Text: "Man I really can't make up my mind.."
NextNode: node_2
node_2:
Speaker: "Omar"
Text: "Should I go with the grey shirt or the blue one?"
Choices:
- Text: "The grey one looks very good on you!"
NextNode: node_3
- Text: "The blue one, it makes your eyes pop!"
NextNode: node_5
node_3:
Speaker: "You" # You can also just skip actually displaying the chosen text and directly show the response!
Text: "The grey one looks very good on you!"
NextNode: node_4
node_4:
Speaker: "Omar"
Text: "Yeah it does look good, ok thanks!"
node_5:
Speaker: "You"
Text: "The blue one, it makes your eyes pop!"
NextNode: node_6
node_6:
Speaker: "Omar"
Text: "Haha that's very kind of you to say!"
NextNode: node_7
node_7:
Speaker: "Omar"
Text: "Ok I'll get it."
```
# Setting up the Script
And with that, we're ready to get into the script side of things!
Create the following C# script:
```C# ChoiceExample.cs icon=code theme={null}
using System.Collections.Generic;
using UnityEngine;
using TMPro;
using UnityEngine.UI;
using KodeFlowStudios.Parley.GraphCore;
public class ChoiceExample : MonoBehaviour
{
public TMP_Text speakerNameText;
public TMP_Text dialogueText;
public GameObject choiceButtonPrefab;
ParleyGraph parleyGraph;
void Start()
{
Dialogue();
}
async void Dialogue()
{
parleyGraph = new ParleyGraph("Choice", "Example");
while (parleyGraph.ConversationEnded != true)
{
speakerNameText.text = parleyGraph.CurrentNode.Speaker;
dialogueText.text = parleyGraph.CurrentNode.Text;
var choices = parleyGraph.GetCurrentChoices();
if (choices.Count > 0)
{
float yOffset = 0f;
List choiceButtons = new();
for (int x = 0; x < parleyGraph.CurrentNode.Choices.Count; x++)
{
int choiceIndex = x;
GameObject choiceButton = Instantiate(choiceButtonPrefab, transform);
RectTransform rt = choiceButton.GetComponent();
RectTransform prt = GetComponent();
float yPos = -(prt.sizeDelta.y/2) - (rt.sizeDelta.y/2) - (rt.sizeDelta.y*x);
rt.localPosition = new Vector3(0, yPos, 0);
transform.position = new Vector3(transform.position.x, transform.position.y + rt.sizeDelta.y, transform.position.z);
yOffset += rt.sizeDelta.y;
choiceButton.GetComponentInChildren().text = parleyGraph.CurrentNode.Choices[x].Text;
choiceButtons.Add(choiceButton);
choiceButton.GetComponent